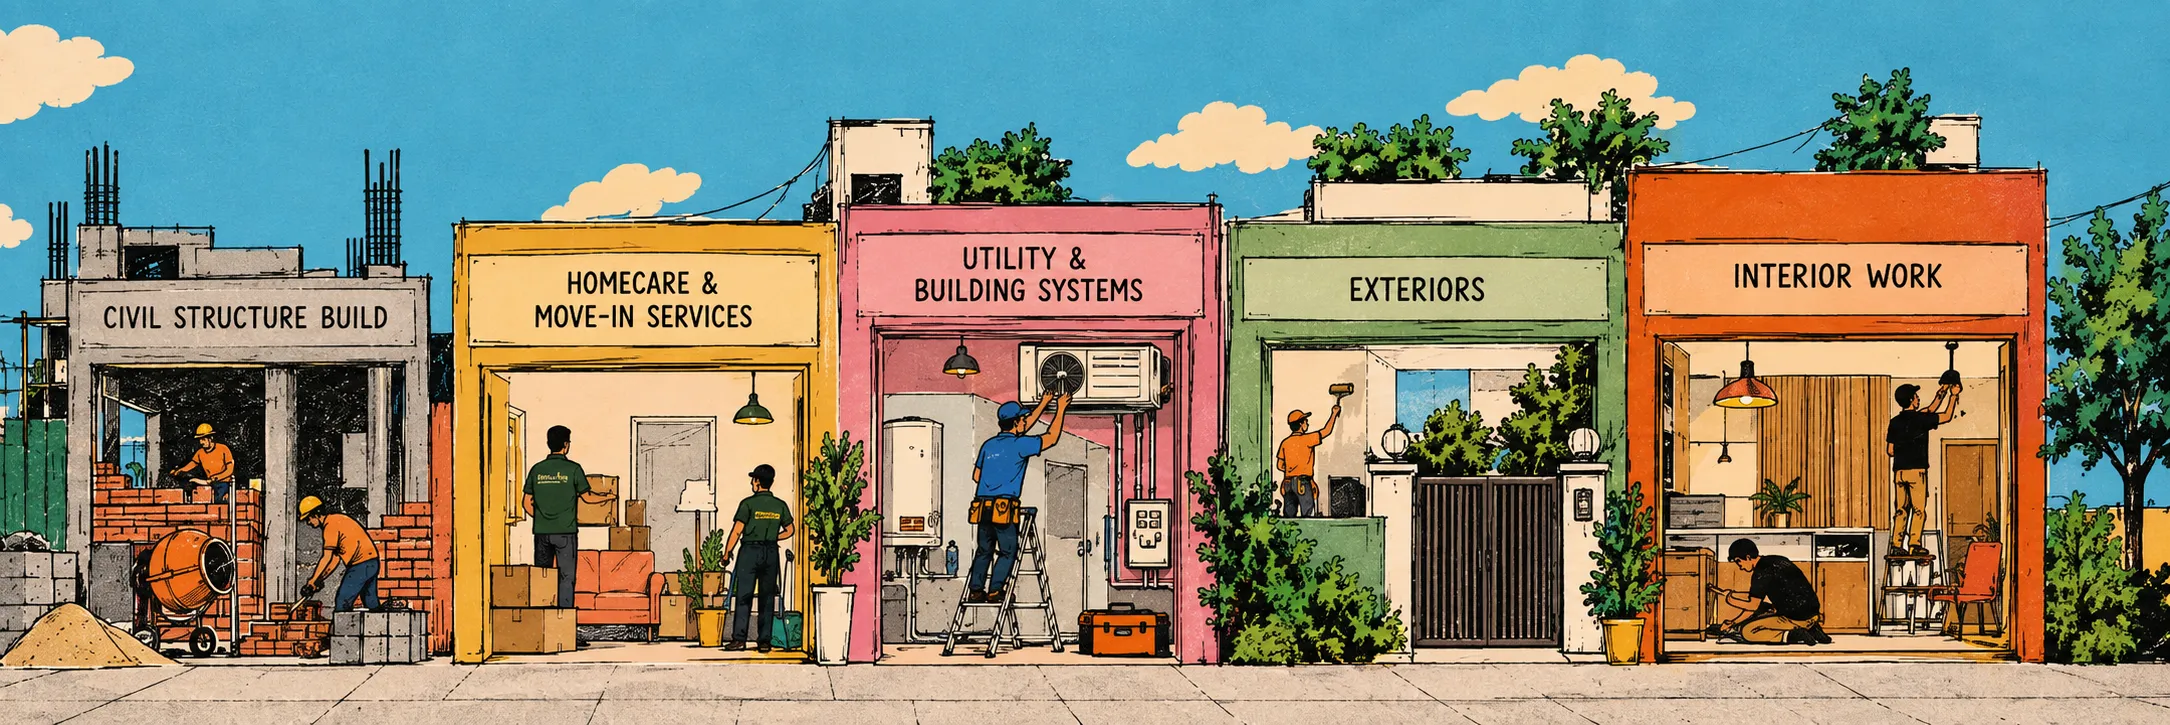
Short answer: Rebuilding an old house in Delhi follows a fixed order: settle ownership papers, design the new house, get the plan sanctioned online through MCD, test the soil, demolish, build the structure, then do services and finishing. For a G+2 or G+3 building, plan for roughly 12 to 18 months from design to move-in. The steps you rush at the start are the ones that cost you most at the end.
That 40 year old house deserves a proper second life
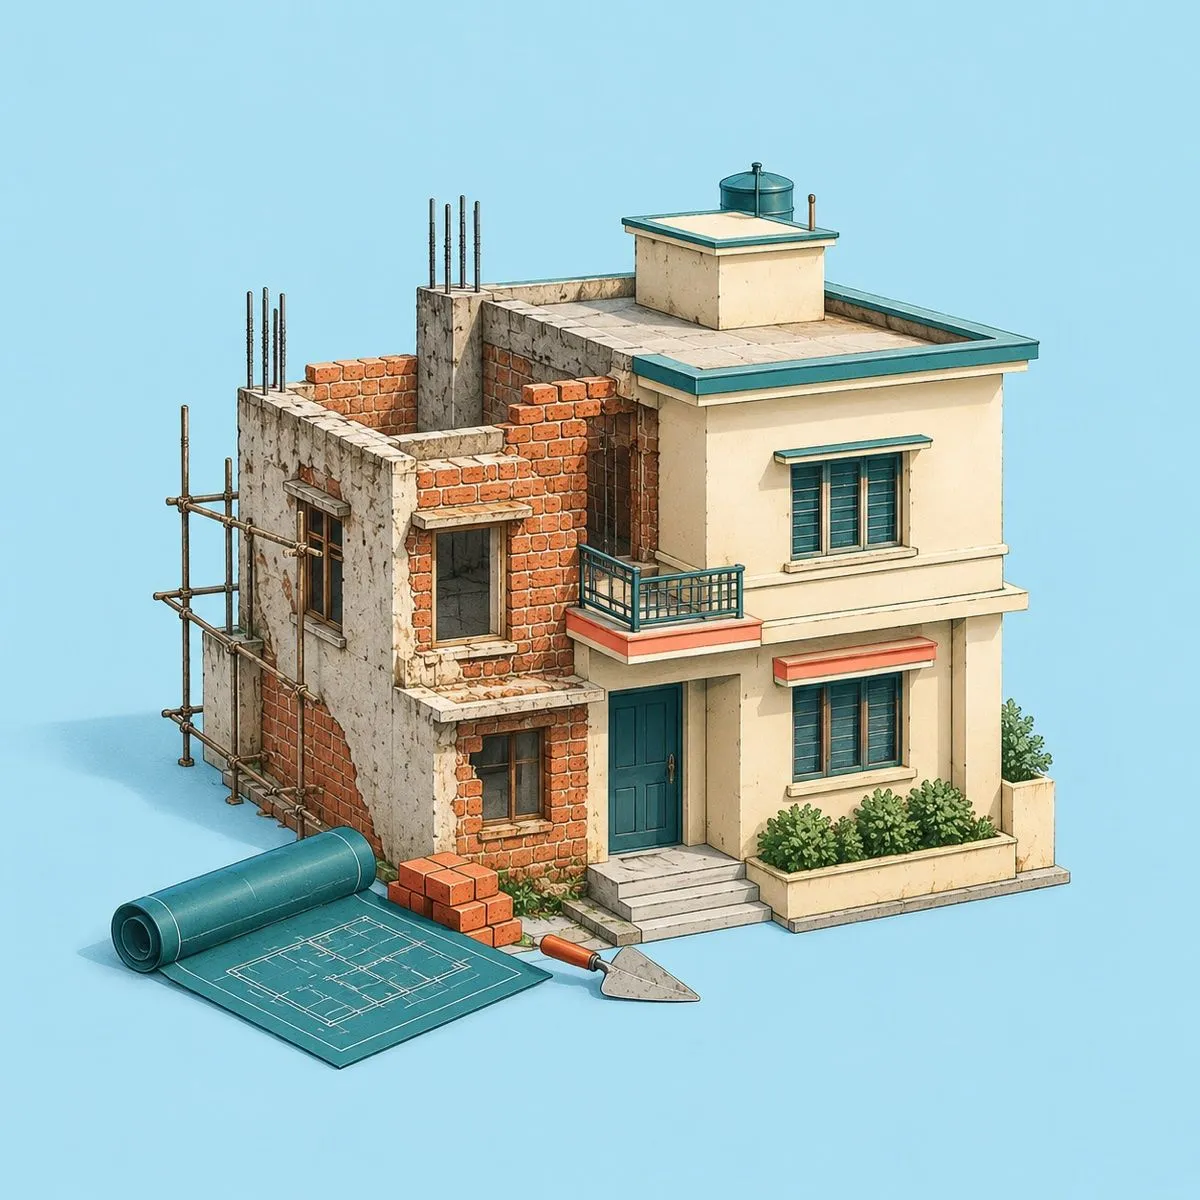
Across Delhi, from Lajpat Nagar to Rohini, Malviya Nagar to Shalimar Bagh, families are sitting on plots their parents or grandparents built on in the 1970s and 80s. The walls are cracking, the plumbing is tired, the layout does not suit how people live now, and there is room to go up a few more floors.
So the conversation starts at dinner: "Isko tod ke naya banwa lete hain." One floor for us, one for the bhaiya's family, maybe one to rent out.
It is one of the best decisions a Delhi family can make. It is also one of the easiest to get wrong. Here is the whole journey, step by step, the way we have done it for our own family's buildings over the years.
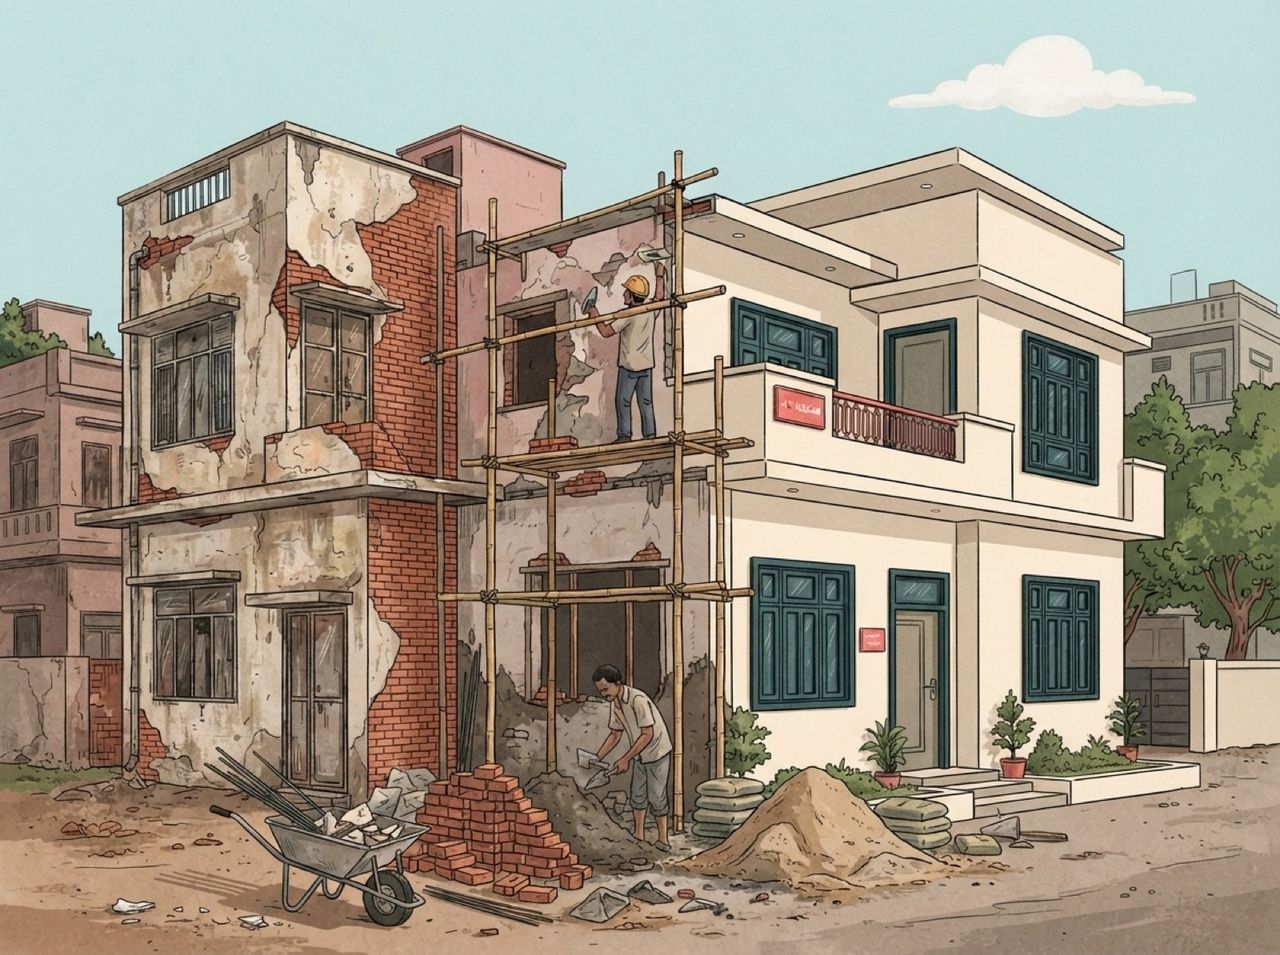
Step 1: Decide what you are building, and for whom
Before you call any architect, sit down as a family and agree on:
- How many floors and who lives where. Will each sibling get a separate floor?
- Stilt parking or not. In most of Delhi, stilt parking is now the norm, and it affects how many floors and how much height you can use.
- Lift. If parents will live upstairs, plan the lift shaft now even if you install the lift later.
- Rental income. Is one floor going to be rented? That changes the layout, entry and metering.
- Budget, with a 10% buffer. Our construction cost guide can help you get a realistic number.
Agreeing on this early avoids the most expensive thing in construction: changing your mind after the slab is cast.
Step 2: Get your papers in order
Nothing can move without clean ownership. Make sure you have:
- Sale deed or conveyance deed in the current owner's name. If the property came through inheritance, the mutation and legal heir paperwork should be complete.
- Up-to-date property tax receipts from MCD.
- Consent of all co-owners, in writing, if the property is jointly held. Family disputes have stopped more Delhi rebuilds than any government office.
Step 3: Design: architecture, structure and Vastu
This is where your house actually gets decided. A good design stage covers:
- Architectural drawings: floor plans, elevation (the front look), sections and a working layout for each floor.
- Structural drawings from a qualified structural engineer: foundation, columns, beams, slabs and steel details. Delhi is in seismic zone IV, so earthquake-resistant design is not optional.
- Vastu, if it matters to your family. It is far easier to plan the kitchen and puja room in the right direction on paper than to shift them later.
- Electrical and plumbing layouts, so you know where every point, pipe and shaft goes before the walls go up.
At most firms, design fees run into lakhs. This is the stage where ThekeYaar's in-house architects, structural engineers and Vastu consultants work with you at no cost.
Step 4: Get your building plan sanctioned
In most of Delhi, the Municipal Corporation of Delhi (MCD) sanctions residential building plans. The NDMC handles the Lutyens and New Delhi area, and DDA handles some DDA colony plots, so first confirm which authority covers your plot.
For MCD areas, the process now runs online through the Online Building Plan Sanction System (OBPS) on the MCD portal:
- Your architect files the application. An owner cannot apply alone; a registered or empanelled architect or engineer submits the drawings and documents online.
- The system checks the drawings automatically against the building bye-laws and flags any shortcomings for correction.
- No-objection requests go out to other departments (like fire or water) through the same common form, where your building needs them.
- Fees are calculated and paid online, and a digitally signed sanction letter is issued.
If the authorities do not respond within the prescribed time (roughly 30 days), the plan is treated as deemed sanctioned. Smaller plots were also given a simpler route under the 2016 bye-laws, so ask your architect what applies to your plot size.
One warning we cannot repeat enough: build exactly what is sanctioned. An extra floor or a setback eaten into "because everyone does it" can lead to sealing or demolition notices, and banks will refuse loans on the property later. Keep the sanction letter and approved drawings safe; you will need them at the plinth inspection (for some buildings) and for the completion certificate.
Step 5: Soil testing (do not skip this)
A soil test tells your structural engineer how much load the ground can take and how deep the foundation needs to go. It costs very little compared with the house, and it is the cheapest insurance you will ever buy.
It matters even more in Delhi because ground conditions change a lot from colony to colony. Areas near the Yamuna, low-lying pockets and plots built on filled land behave very differently from the rocky ridge areas. Your old house standing for 40 years does not prove the soil can carry three or four new floors.
Step 6: Demolition and malba removal
Taking the old house down is a job of its own, and it needs care:
- Disconnect bijli, paani, sewer and gas before work starts, and get temporary connections arranged for construction.
- Inform your neighbours. Shared walls are common in Delhi. Protect adjoining walls and roofs, and agree on how the common wall will be handled.
- Salvage what you can. Old wooden doors, grills, marble and even bricks can be sold or reused.
- Arrange proper malba disposal. Debris dumped on the road brings fines and fights with the RWA.
- Plan around pollution restrictions. During severe air quality periods in winter, the authorities can halt construction and demolition across NCR. Check the current rules before scheduling demolition in October to January.
Step 7: Foundation and plinth
Now the new house actually begins. The typical sequence:
- Excavation to the depth in your structural drawing.
- PCC bed (plain cement concrete) to give the footings a clean, level base.
- Footings and column stubs, with steel exactly as per the drawing.
- Anti-termite treatment of the soil. Very easy now, impossible later.
- Plinth beam and DPC (damp proof course), which stops ground moisture from creeping up into your walls.
- Plinth filling and the base for the ground floor.
If you are building a basement, this stage also includes shoring, retaining walls and a full waterproofing system. Do not compromise here; seepage in a tehkhana is almost impossible to fix later.
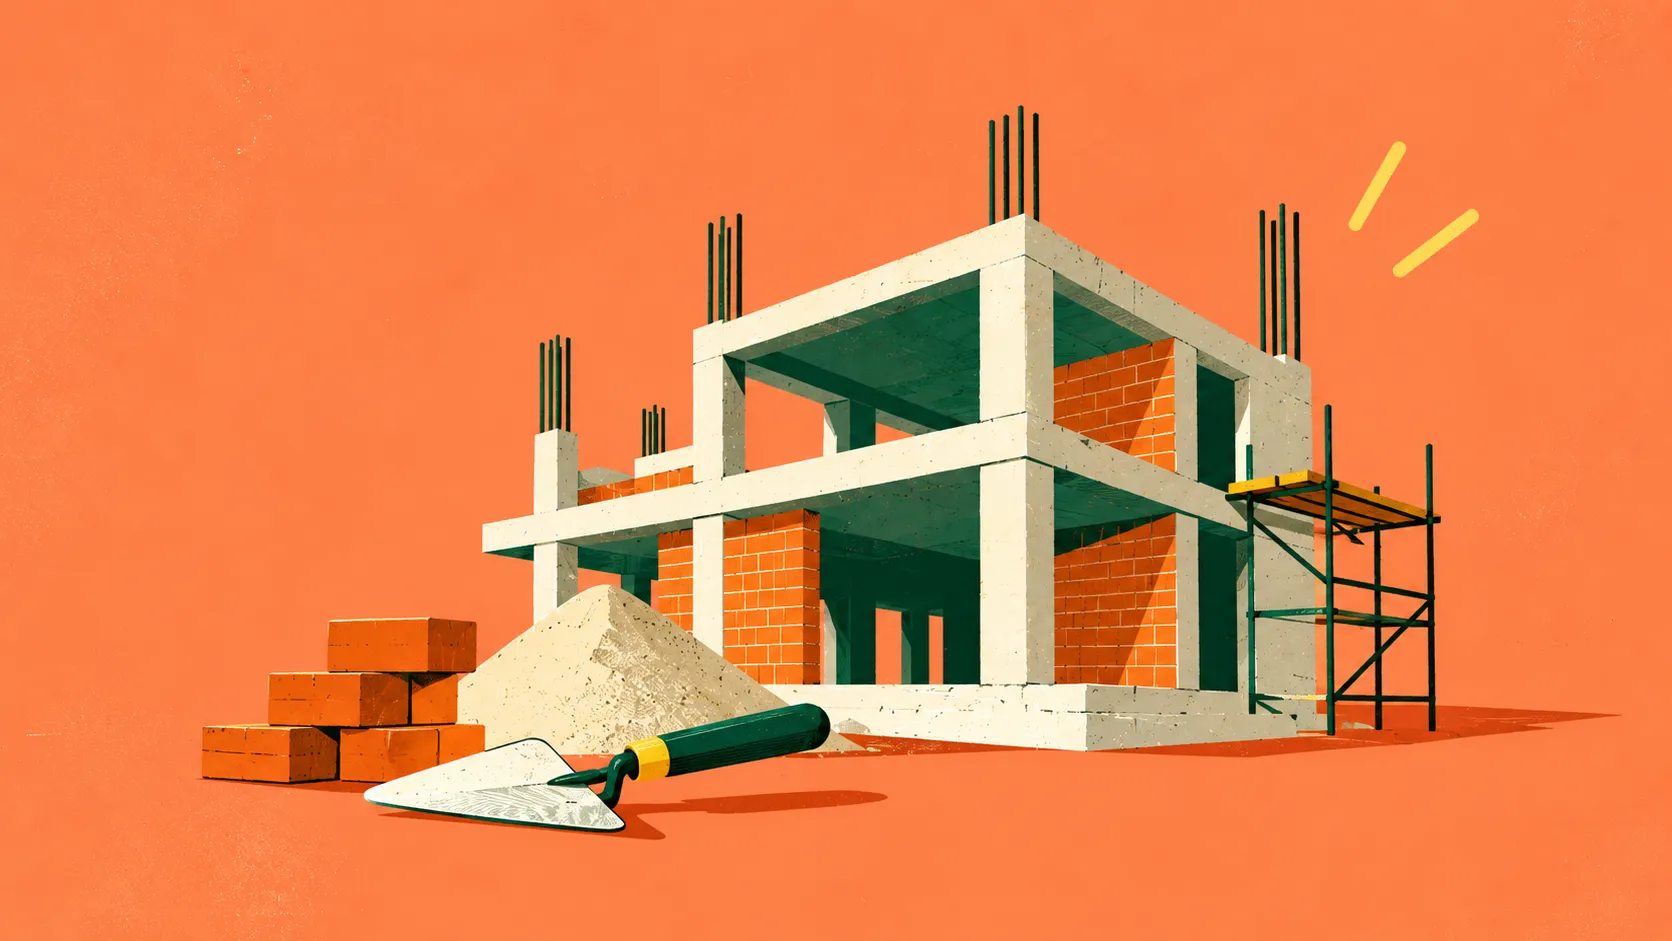
Step 8: RCC frame and slabs
This is the skeleton of your house: columns, beams and slabs, floor by floor. A few rules we follow on every site:
- Check the steel before every pour. Bar sizes, number of bars, spacing, stirrups and cover blocks should match the structural drawing. Once concrete goes in, nobody can see what is underneath.
- Ask for cube tests on slab concrete for larger projects, so you know the mix is actually reaching its grade.
- Cure properly. Concrete needs to be kept wet for at least 7 days, longer in summer. Skipped curing shows up as cracks years later.
- Respect de-shuttering time. Removing slab props too early to "move fast" is one of the riskiest shortcuts on a Delhi site.
On average, one floor's structure takes about 4 to 6 weeks, depending on size, weather and how organised the site is.
Step 9: Brickwork, lintels and chhajjas
Once the frame is up, the walls go in. Red clay bricks are still common, but fly ash bricks and AAC blocks are increasingly used in Delhi because they are lighter and often cheaper. AAC also gives better heat insulation, which you will appreciate in May.
Lintels over doors and windows, chhajjas (sunshades) and the parapet on the terrace are done at this stage too. This is also the right time for your electrician and plumber to mark every point and chase, because breaking a finished wall later is pure waste.
Step 10: Electrical and plumbing rough-in
Before any plaster, all the hidden work goes in: conduits and boxes for wiring, CPVC pipes for water, SWR pipes for drainage, AC copper piping and drain lines, inverter and DB points, CCTV and internet cabling.
Take photos and a video of every wall and floor at this stage, with a measuring tape visible. Years later, when you want to drill a hole without hitting a pipe, you will thank yourself.
Step 11: Plaster and waterproofing
Internal and external plaster gives the walls their finish. This is also when waterproofing is done for bathrooms, kitchen, balconies and the terrace. Bathroom floors should be waterproofed and ponding tested (filled with water for a day or two to check for leaks) before tiles go down. Terrace waterproofing with a proper slope towards the rainwater outlets saves you from the classic Delhi monsoon problem of a damp top-floor ceiling.
Step 12: Flooring, doors and windows
Now the house starts looking like a home. Floor tiles or marble, bathroom and kitchen wall tiles, granite kitchen platform, door frames (chaukhat) and shutters, windows in aluminium, uPVC or wood, and staircase finishing.
This is the stage where budgets slip the most, because every showroom visit tempts you upward. Decide your tile range and fixture brands in advance and stick to them.
Step 13: Painting, fixtures and final touches
Wall putty, primer and paint, then the fixtures: switches, lights, fans, taps, showers, WCs, mirrors, railings and the main gate. Modular kitchen and wardrobes are usually installed at the end too.
Step 14: Completion certificate and handover
Once construction matches the sanctioned plan, your architect applies for the completion-cum-occupancy certificate. Do not treat this as a formality; banks and future buyers will ask for it.
Before final payment, walk the house with a snag list: leaking taps, cracked tiles, doors that do not close, switches that do not work, paint patches. Hold back a small retention amount until everything on that list is fixed.
How long does the whole thing take?
| Stage | Typical time |
|---|---|
| Family planning and design | 1 to 2 months |
| Plan sanction | About 1 month |
| Demolition and malba removal | 2 to 4 weeks |
| Foundation and plinth | 4 to 6 weeks |
| RCC structure | 4 to 6 weeks per floor |
| Brickwork, plumbing and electrical | 2 to 3 months |
| Plaster, flooring, finishing and painting | 3 to 4 months |
| Total for a G+2 or G+3 building | About 12 to 18 months |
Monsoon months and pollution related restrictions in winter can each add a few weeks, so build that into your plan.
Frequently asked questions
Do I need permission to demolish and rebuild my house in Delhi? Yes. You need a sanctioned building plan for the new construction from the authority that covers your area (MCD in most of Delhi). Your architect handles the online application.
How long does it take to rebuild a house in Delhi? About 12 to 18 months for a typical G+2 or G+3 building, from design to move-in.
Kya purane foundation par naye floors ban sakte hain? Usually not safely. Old foundations were designed for the old load. A structural engineer, with a soil test, should decide. In most rebuilds, a fresh foundation is the right call.
What is the cost of rebuilding a house in Delhi? For the new construction, plan for roughly ₹2,200 to ₹3,200 per sq ft for a standard finish, plus demolition, approvals and interiors. See our full cost breakdown for details.
Can I stay in one part of the house while the rest is rebuilt? In a full demolition, no. It is unsafe and slows the work. Budget for 12 to 18 months of rent.
Rebuild your family home with ThekeYaar
Rebuilding the house you grew up in is emotional. It should not also be exhausting.
With ThekeYaar, our in-house team handles architecture, structural design, Vastu, soil testing and site supervision at zero cost to you. You choose from vetted contractors at the same rates they give builders. A trained coordinator is your single point of contact from demolition to handover, and you can track every stage, with photos and timelines, from your phone, wherever you are.
It is a home, not a builder house. Let us build it that way.